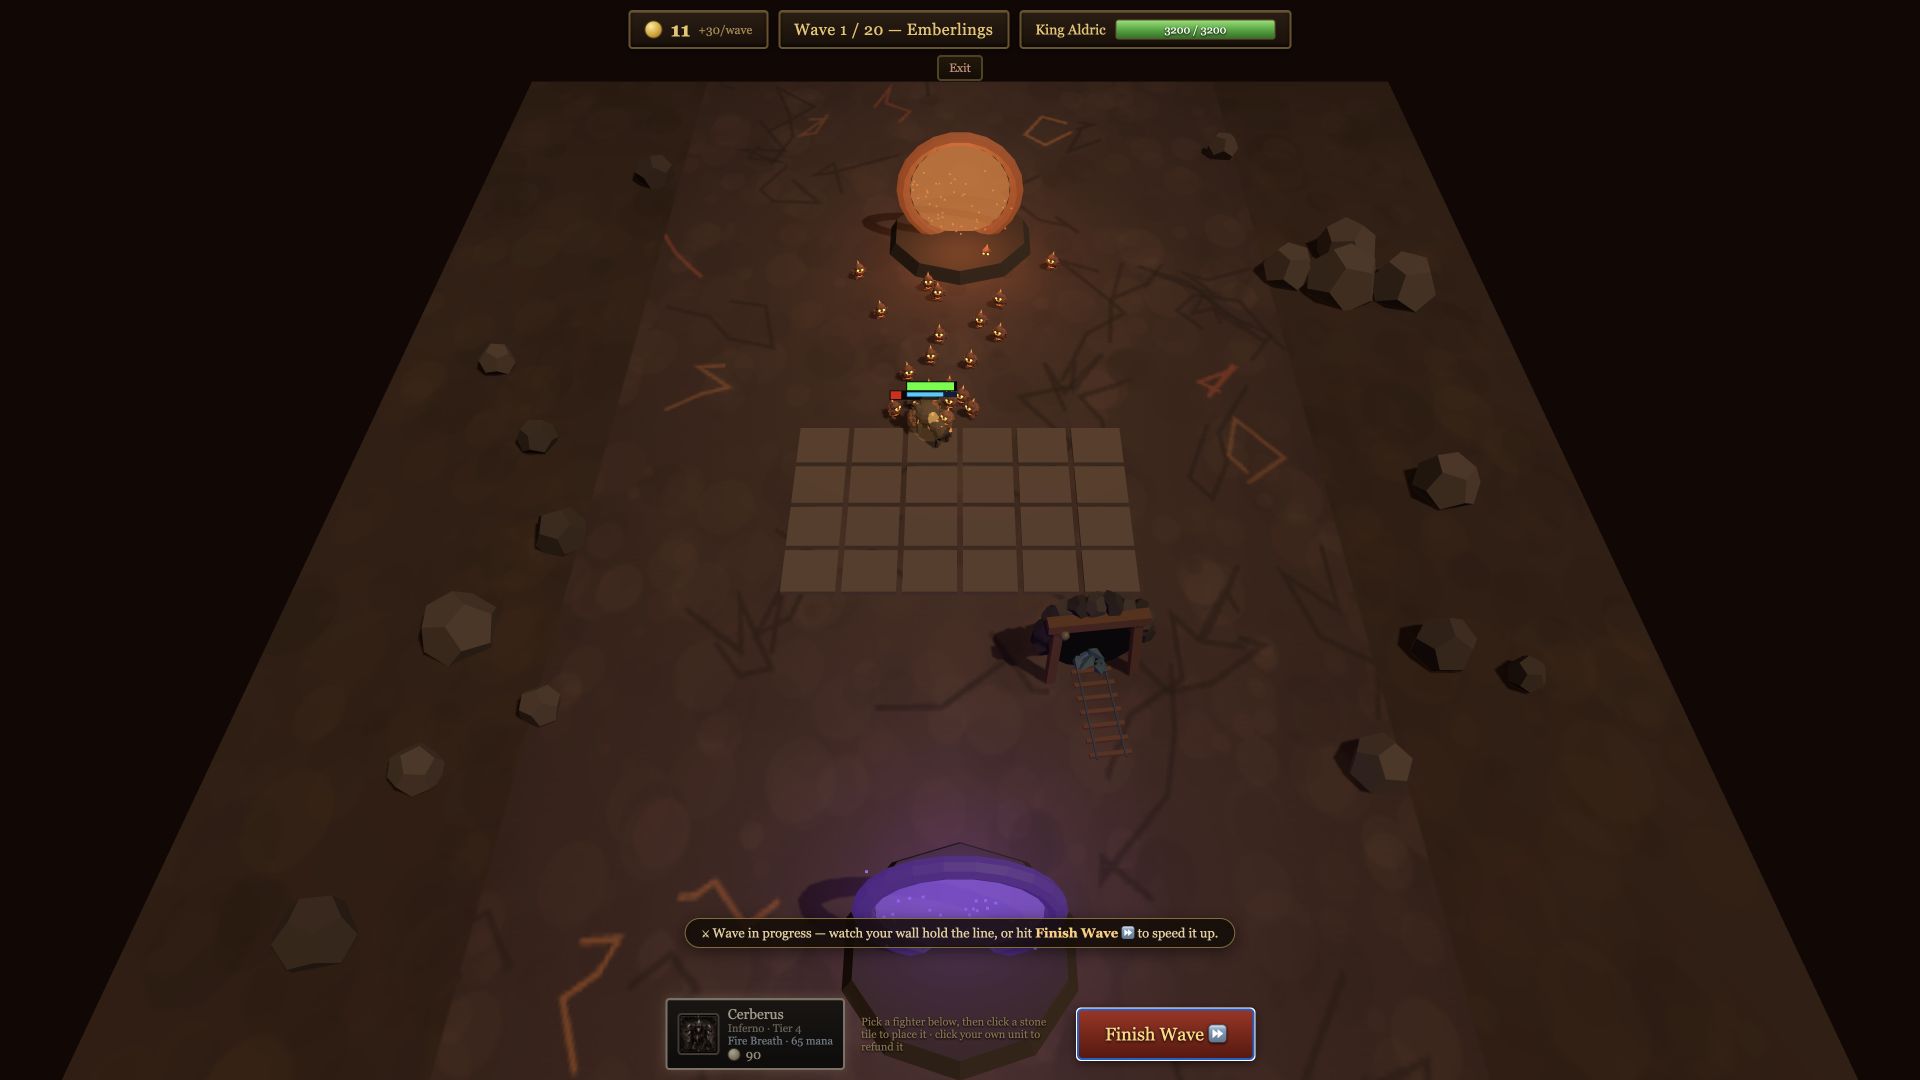
Which Throneward legion should you choose?
- First matchInferno has a clear frontline-and-backline plan and is taught by the tutorial.
- Direct aggressionNomad turns damage, attack speed and close-range abilities into a straightforward brawl.
- Defense and sustainHeaven combines shields, reflection, healing and self-sustaining carries.
- Spell controlArcane accelerates allied casting while pushing and slowing the enemy field.
- Synergy challengeChoose Blight for Rot chains, Nature for aura networks or Dynasty for formation control.
- Area damageCelestial gathers enemy packs and attacks the cluster with stars, beams and piercing lines.
Eight legions, five fighters each
A themed legion gives you the same five-fighter roster for the entire match: one fighter at each tier from Tier 5 through Tier 1. Tier 5 is generally the cheapest entry unit; Tier 1 is the strongest and most expensive. Tier does not define combat role—a top-tier unit may be a tank, carry or support depending on the roster.
The fixed roster is the strategic constraint. You cannot buy an outside fighter to patch every weakness, so the five units are designed to combine: one creates time, another deals damage, and another changes what the whole formation can accomplish. Placement and purchase timing decide whether that synergy appears before the wall collapses.
All eight legions compared
| Legion | Core plan | Role mix | Signature strength | Main demand | Learning curve |
|---|---|---|---|---|---|
| Inferno | Stack and empower Ignite | 2 DPS · 2 tanks · 1 support | AoE burst and rebirth | Coordinate detonations | Approachable |
| Nomad | Win the physical brawl | 3 DPS · 1 tank · 1 support | Attack-speed momentum | Protect melee damage | Approachable |
| Heaven | Outlast and retaliate | 3 DPS · 1 tank · 1 support | Shielding and healing | Survive until casts land | Approachable |
| Arcane | Control through mana | 2 DPS · 3 supports | Faster spells and global slow | No dedicated tank role | Intermediate |
| Blight | Spread, amplify and reap Rot | 3 DPS · 1 tank · 1 support | Compounding attrition | Low standalone value | Advanced |
| Celestial | Gather, line up and blast packs | 3 DPS · 1 tank · 1 support | Control plus area damage | Formation geometry | Intermediate |
| Nature | Multiply a protected core | 2 DPS · 1 tank · 2 supports | Persistent auras and healing | Coverage and variable forms | Advanced |
| Dynasty | Move and preserve the battle line | 3 DPS · 1 tank · 1 support | Displacement and rescue | Placement-aware abilities | Intermediate |
There is no universal “best legion.” A roster can feel dominant into a packed wave and awkward into a boss, or safe in lane defense but vulnerable when its formation meets another army in the arena. Choose by the kind of problem you want to solve, then learn how that roster answers different waves.
Every legion and its complete roster
Inferno
Imp, Cerberus and Infernal add Ignite through their abilities. Three crystals detonate for area damage; Succubus can empower the loaded crystals for a much larger burst. Phoenix anchors late fights with Rebirth and a death supernova.
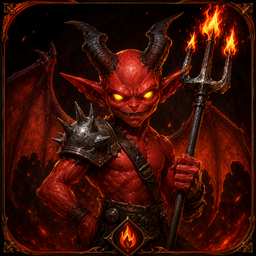 ImpT5
ImpT5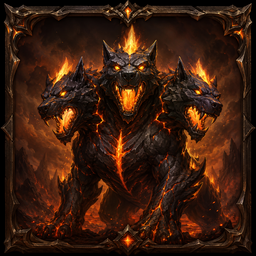 CerberusT4
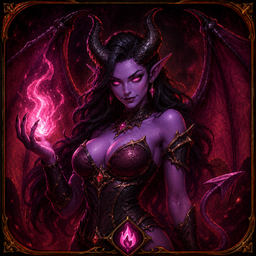 SuccubusT3
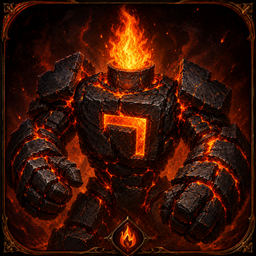 InfernalT2
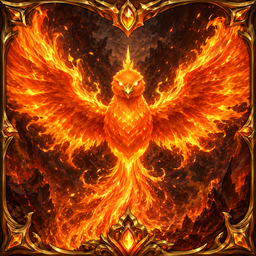 PhoenixT1
Choose Inferno if: you want readable roles, satisfying combo bursts and a forgiving apex tank. Protect the Succubus and keep enough Ignite sources attacking the same pack.
Nomad
Nomad builds momentum through direct combat. Centaur hits several targets, Berzerker Troll accelerates when wounded and passes its fury on death, Shaman Bloodlusts the current damage leader, and Blademaster shreds nearby packs. Cyclops supplies the durable body and cluster stun.
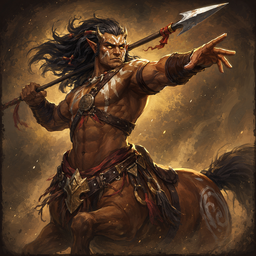 CentaurT5
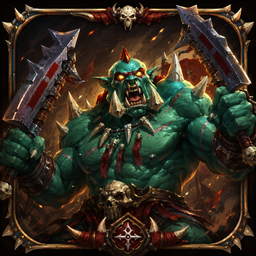 BerzerkerT4
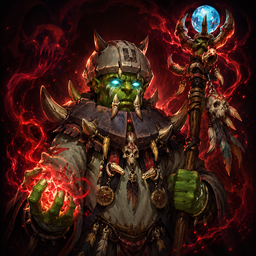 ShamanT3
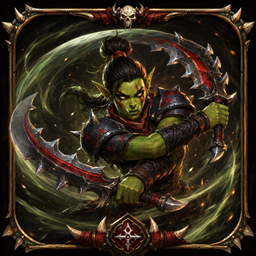 BlademasterT2
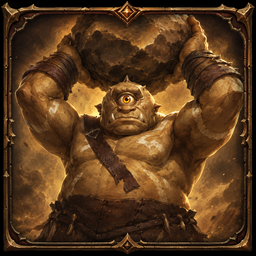 CyclopsT1
Choose Nomad if: you prefer obvious offensive payoffs and close-range fights. Its damage-heavy melee core still needs careful layering behind the limited frontline. Read the full Nomad guide.
Heaven
Knight plants a defensive Shield Wall and reflects hits, Crossbowman pierces enemy lines, and Cleric restores the entire team. Paladin mixes nearby damage with healing; Angel becomes a faster, stronger attacker that heals itself on every empowered strike.
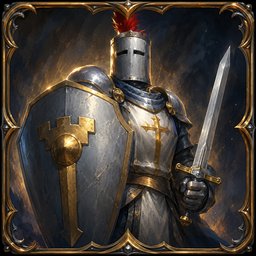 KnightT5
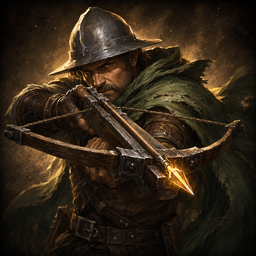 CrossbowmanT4
 ClericT3
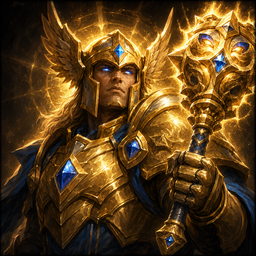 PaladinT2
 AngelT1
Choose Heaven if: you like durable, recoverable fights. The formation must live long enough to charge its defensive casts, and line placement helps Crossbowman's piercing shots. Read the full Heaven guide.
Arcane
Apprentice Mage and Archmage turn mana into frequent bolts and heavy splash. Gravitas pushes nearby enemies out of the scrum, Mana Crystal charges without attacking and gifts mana to every allied caster, while Time Worm repeatedly slows the entire enemy field.
 ApprenticeT5
 GravitasT4
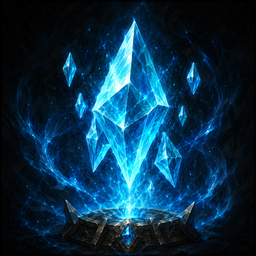 CrystalT3
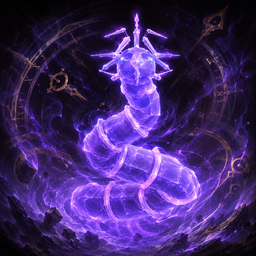 Time WormT2
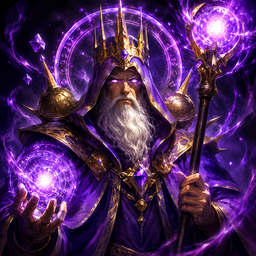 ArchmageT1
Choose Arcane if: you want spell frequency and whole-field control. Three primary supports and no dedicated tank role make the balance between utility and raw damage especially important. Read the full Arcane guide.
Blight
Plaguebearer seeds Rot, rotting deaths spread it through nearby enemies, and Carrion Hound grows from those deaths. Defiler spreads and amplifies the plague, Pestilence infects the surrounding pack, then Lich consumes accumulated stacks for a decisive Reap.
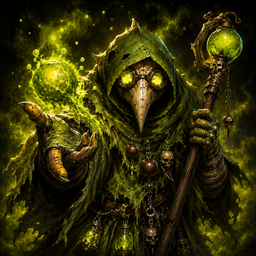 BearerT5
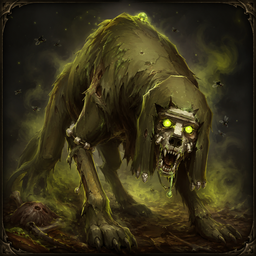 HoundT4
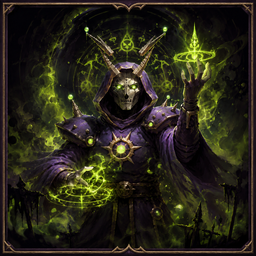 DefilerT3
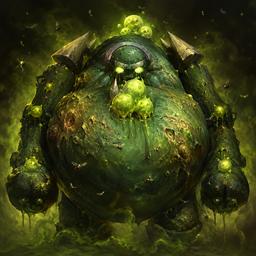 PestilenceT2
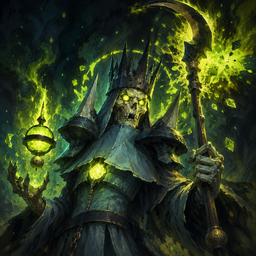 LichT1
Choose Blight if: you enjoy compounding systems and delayed payoff. Its bodies are less impressive in isolation; the roster succeeds when Rot stays active long enough to spread, amplify and detonate. Read the full Blight guide.
Celestial
Stargazer splashes early packs. Astromancer pulls the densest group into a stunned knot for Starcaller's barrage, Collapsar's piercing beam and Star Titan's sustained orbital line. The same control that groups a wave also improves every follow-up hit.
 StargazerT5
 AstromancerT4
 StarcallerT3
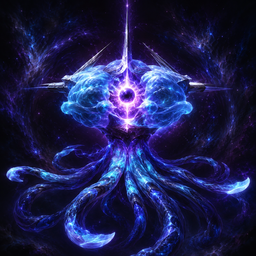 CollapsarT2
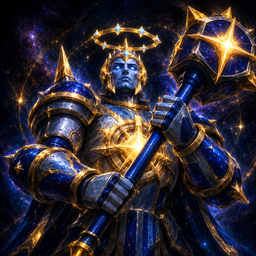 Star TitanT1
Choose Celestial if: you want positioning to multiply area damage. It rewards clean enemy lines and clusters; scattered targets and expensive purchases demand better planning.
Nature
Wisp turns its death into healing, damage and a vulnerability mark. Druid takes a Bear, Wolf or Hawk form each battle. Mountain Giant reduces nearby damage, Moon Elf buffs nearby attacks, and Yggdrasil steadily heals the formation around its roots.
 WispT5
 DruidT4
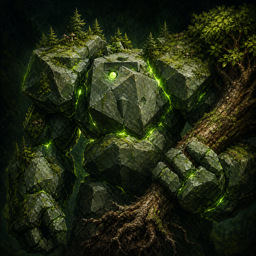 GiantT3
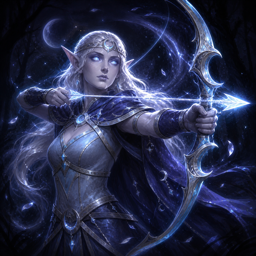 Moon ElfT2
 YggdrasilT1
Choose Nature if: you like building one mutually reinforcing formation. Aura coverage, Wisp timing and Druid's changing role make placement more demanding than the card values suggest.
Dynasty
Jade Lancer repels a narrow line, Windstep Archer tumbles from close threats, and Banner Captain recalls and protects a wounded ally. Imperial Guardian shields the fighters currently holding the front; Dragon Marshal charges through a line and reforms at home.
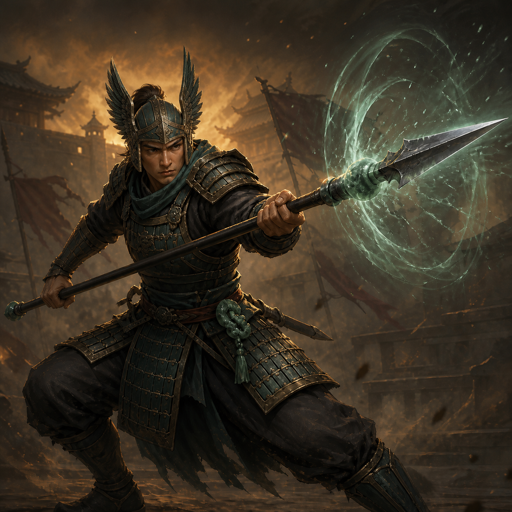 LancerT5
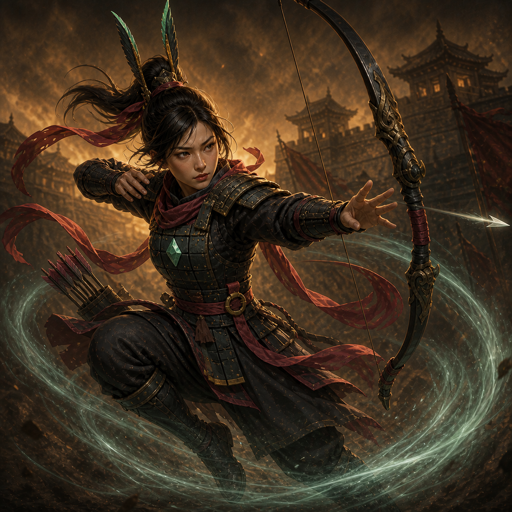 ArcherT4
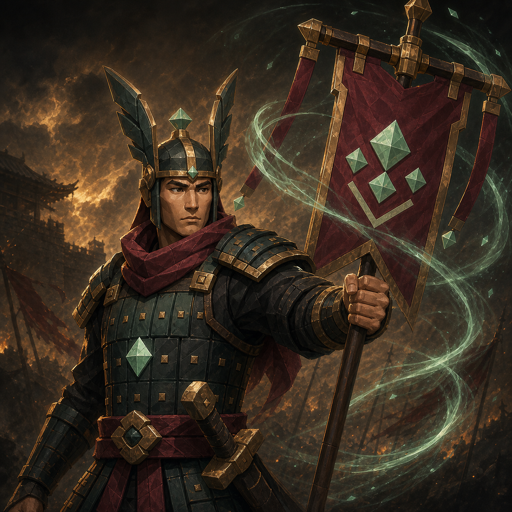 CaptainT3
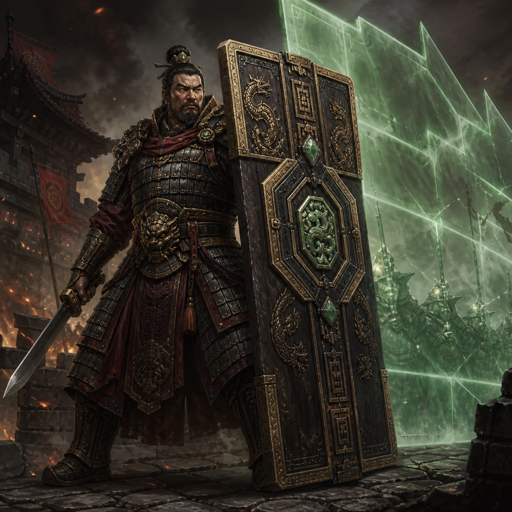 GuardianT2
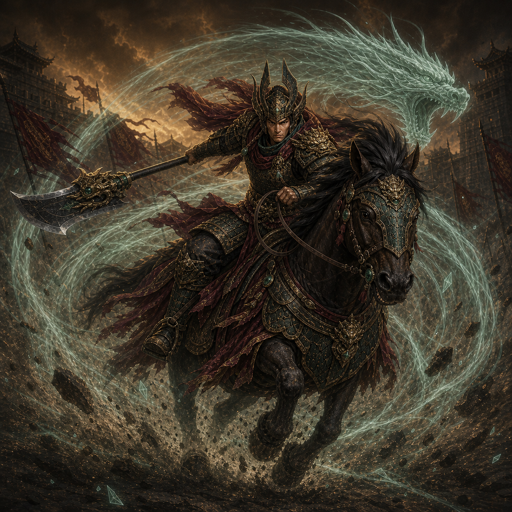 MarshalT1
Choose Dynasty if: you want the formation itself to behave like a weapon. Its rescue, shield and displacement improve with deliberate spacing, while bosses resist most push effects.
Choose by the decisions you enjoy
Start with Inferno's tutorial. Nomad emphasizes direct damage; Heaven makes mistakes more recoverable through defense and healing.
Celestial shapes enemy clusters, Dynasty manipulates the battle line, and Nature asks you to maintain overlapping coverage.
Blight builds Rot toward contagion and Reap. Arcane turns mana support into more control and more high-impact casts.
Visual theme is also a valid reason. You will repeat a roster across twenty waves, so an army you enjoy reading and watching is easier to learn than a theoretical pick you do not understand. The current game does not require you to unlock these themed legions before choosing them.
Fortune and Random are special builder choices
Fortune: mixed-tier draft
Deals one fighter at each tier, independently drawn from the eight themed legions. You begin with one worker. The first roster reroll is free, then rerolls cost 100 and 200 gold, capped at 200.
Random: coherent mystery roster
Selects one whole themed legion at match start. You receive its normal five-unit synergy, but do not know the result while choosing and do not receive Fortune's opening worker.
Both builder choices gain one bonus worker after clearing Wave 5; that worker begins producing on later clears. Fortune is the harder option because five individually valid units may not share a natural combo, and rerolling costs gold that could defend the next wave. Random asks for broad legion knowledge but always provides a coherent roster.
How to learn a new legion in one match
- Read all five cards before Wave 1.Identify the primary tank, damage sources, support and any ability that depends on proximity, a status effect or enemy geometry.
- Build a basic formation first.Establish first contact and protected damage before trying to assemble the complete signature combo.
- Add the cheapest missing relationship.A support is valuable when there is already something worth supporting; a combo finisher needs units that create its setup.
- Review the post-wave statistics.Check damage dealt, healing, damage taken and survival against the role shown on each fighter card.
- Use Wave 10 as the exam.The boss tests your lane, then the arena shows how the exact formation behaves against another army. Adjust before the final ten waves.
The unit placement guide explains first contact, range and support coverage. The economy guide helps decide when the next synergy piece is worth delaying a worker.
Common legion questions
What is the best beginner legion?
Inferno, because the tutorial teaches its opening and its frontline, support and damage relationships are easy to observe.
Are lower tier numbers better?
Tier 1 is the roster's apex purchase and Tier 5 its entry unit, but role and timing still matter more than buying only expensive cards.
Can I mix themed legions?
Not with a fixed themed roster. Fortune is the dedicated mixed-roster builder and rolls one fighter at every tier.
Does Random roll five separate units?
No. Random selects one complete themed legion. Fortune is the option that rolls the five tiers independently.
Do legions change between modes?
The roster mechanics stay the same. PvP adds enemy sends, scouting, shared-team defense and arenas that can change what you prioritize.
Should I force every synergy?
No. First survive the next wave. A partial combo behind a stable frontline is better than a complete engine that dies before activating.
Which legion will hold your throne?
Start with the guided Inferno game or open Solo to inspect all eight themed rosters before Wave 1.
Play Throneward free