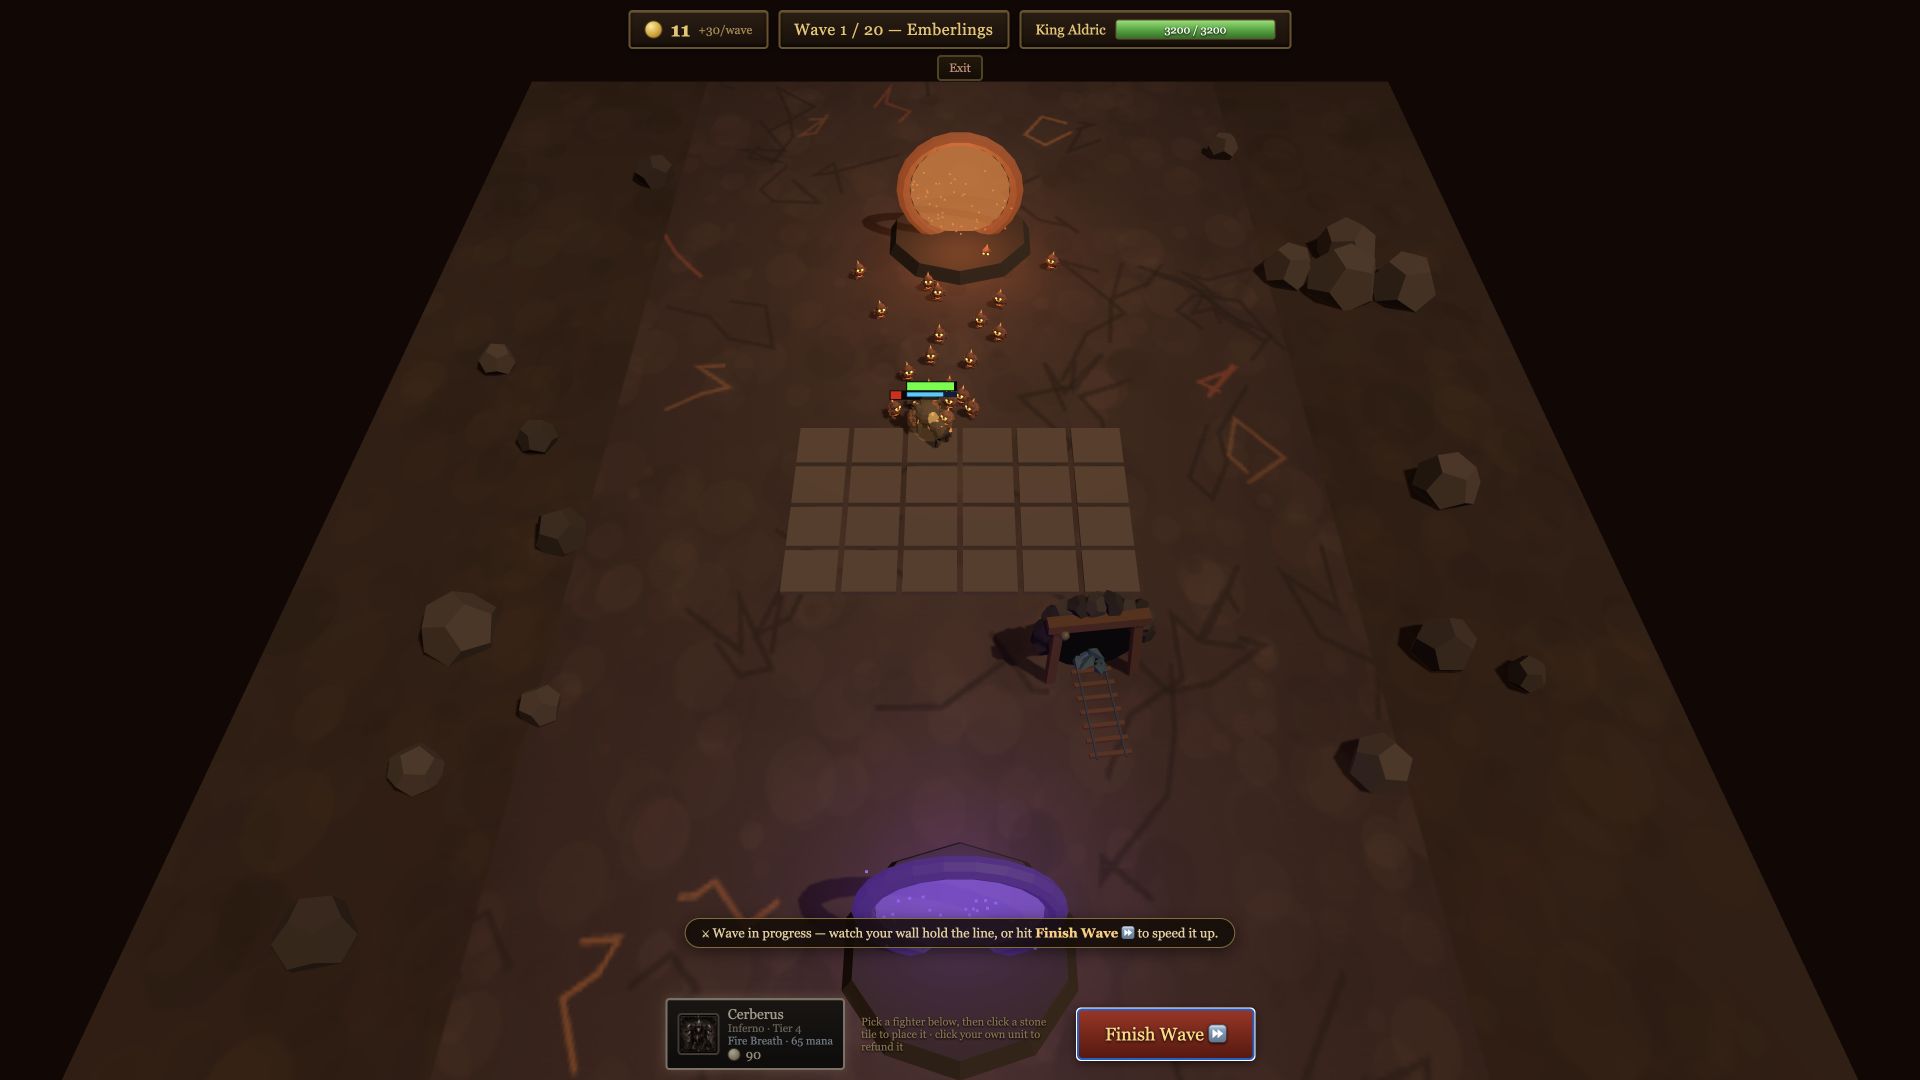
How do you play Inferno?
- OpeningStart with Cerberus in front, then add a protected Imp. This is the coached first-match formation.
- Core mechanicInferno abilities add Ignite. The third crystal detonates on its carrier and damages nearby enemies.
- AmplifierSuccubus seeds a clustered area with red Ignite so later detonations hit harder and wider.
- FrontlineGraduate from the early Cerberus wall into Infernal and Phoenix anchors while keeping damage protected.
- Best habitBuy the role the formation lacks. Do not save for a combo piece while the current wall is already collapsing.
Inferno playstyle: repeated abilities become burst
Inferno is a fire-combo legion with an approachable formation plan. Its frontline holds enemies in a pack while ranged and area abilities build a shared Ignite meter on individual targets. The payoff is not damage over time: Ignite is a three-crystal combo that explodes immediately at full stacks.
Inferno is taught by the tutorial because its roles are visible: bodies in front, damage and the Succubus behind. Mastery comes from timing those purchases so the combo grows without sacrificing the next clear.
How Ignite and red detonations work
A normal detonation deals 75 damage to the carrier and 35 splash damage around it. If any crystal in that active stack has been turned red, the detonation deals 2.5× damage and reaches a wider area. That makes Succubus an amplifier, not merely another ranged attacker.
Fighters gain 8 mana when they make a basic attack and 3 mana when they are hit. Attackers therefore charge through uptime, while frontline casters can also gain mana from tanking. A dead unit cannot finish its next cast, so protection is part of the combo.
All five Inferno units and current stats
| Tier | Fighter | Cost | HP | Damage | Cooldown | Range | Primary role | Ability |
|---|---|---|---|---|---|---|---|---|
| T5 | Imp | 40 | 180 | 20 | 0.7s | 11.0 | DPS | Fireball · 40 mana |
| T4 | Cerberus | 90 | 570 | 31 | 1.0s | 1.9 | DPS | Fire Breath · 65 mana |
| T3 | Succubus | 150 | 320 | 37 | 0.9s | 9.0 | Support | Empower · 70 mana |
| T2 | Infernal | 230 | 950 | 46 | 1.1s | 2.0 | Tank | Meteor · 95 mana |
| T1 | Phoenix | 330 | 1,150 | 56 | 1.0s | 2.2 | Tank | Rebirth · 80 mana initially |
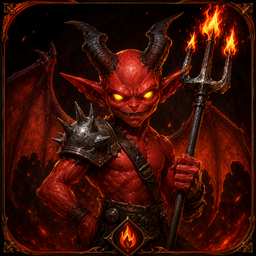
Imp: the cheap Ignite engine
Fast, long-ranged attacks charge a frequent Fireball. Its 41-damage impact, 25 splash and primary-target Ignite make Imp efficient against packs, but 180 HP means it needs a real screen. Add Imps when you need affordable ranged output or more consistent crystal generation.
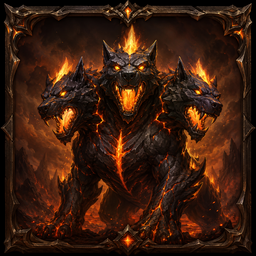
Cerberus: early wall, melee damage later
Cerberus is durable enough to teach the opening frontline, but its primary job is damage. Fire Breath hits a cone for 48 ability damage and adds Ignite to every surviving victim. Once stronger anchors arrive, offset Cerberus just behind them so it breathes through the pack without taking every first hit.

Succubus: the burst multiplier
Empower selects the densest enemy cluster, adds one red Ignite crystal across a four-unit radius and primes those enemies for 2.5× detonations. Her 320 HP is the roster's biggest placement warning: keep her in the protected rear and buy her when the wall and damage sources can preserve enough time to exploit the mark.
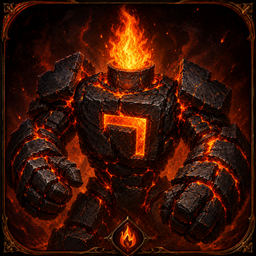
Infernal: the mid-game anchor
Infernal brings 950 HP and drops Meteor on the densest cluster for area damage plus Ignite. It gives the roster a true frontline body without abandoning the combo. Place it where the wave will gather, then let Cerberus fight from its shoulder and the ranged core work behind both.
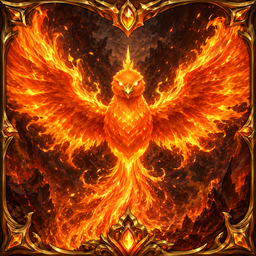
Phoenix: the apex anchor
At full mana, Phoenix arms Rebirth. Its next death triggers an 84-damage supernova, applies Ignite nearby and revives it at 55% health. Every later Rebirth costs 2.5× more mana, so repeated revivals become harder to reach. Frontline it where death bursts hit the fight, but do not assume every Phoenix has armed Rebirth before falling.
A practical Inferno formation
Keep the first formation centered. Infernal and Phoenix form the eventual contact line; Cerberus begins behind or beside the anchor so its cone reaches the same pack. Succubus needs safety and enough range to participate, while Imps can spread across the rear to reduce shared boss-slam exposure.
This is a role map, not a required end board. Early on, Cerberus occupies the lead tile because Infernal and Phoenix are unaffordable. As real tanks arrive, use new placements to layer the wall rather than selling the veteran Cerberus for only 60% of its cost.
Against bosses and Cataclysm Slam mercenaries, avoid placing every Imp and the Succubus in one tight square. Keep them close enough to attack the same fight, but offset the valuable backliners so one area hit does not remove the entire combo engine. See the unit placement guide for the full aggro and spacing rules.
A safe Inferno opening
Center a Cerberus
Spend 90 of the starting 100 gold on a Cerberus near the center of the front row. It establishes one readable contact point and leaves 10 gold.
Coached openingAdd an Imp behind it
A normal Wave 1 clear pays 30 gold, bringing the saved 10 to the Imp's 40-gold cost. Put it in the rear so Fireball charges while Cerberus holds contact.
Protected damageBuy the first missing role
If Cerberus collapses early, add durability. If it lives while enemies leak, add damage. Consider a worker only after the formation proves it has room.
Decision, not scriptThe tutorial deliberately stops being a rigid purchase list after teaching Cerberus and Imp. Gold from bounties, leaks, workers and PvP pressure changes every match. Use the beginner guide for the full first-five-wave decision framework.
Inferno economy decisions
An Imp adds immediate ranged damage and frequent Fireballs for 40 gold. It is often the cleanest way to stabilize damage without delaying the whole formation.
Succubus is worth 150 when existing damage and frontline can exploit red Ignite. Infernal is worth 230 when the missing piece is a true anchor plus clustered Meteor.
Banking 330 while the wall is already weak can cost the match. Several smaller bodies or one worker-plus-defense split may create more immediate value.
Inferno tempts players to think only about the next expensive unlock. Instead, price the next relationship: another source to reach three crystals, a tank to buy cast time, or the Succubus that multiplies an engine already working. A worker is correct only when removing 60 gold from the current formation does not break that relationship.
The economy and income guide covers exact payouts, worker production and the tradeoff between compounding and defending now.
How Inferno handles different waves
Dense swarms
Your best natural matchup. Keep them gathered for Fire Breath, Meteor and detonation splash instead of spreading the frontline across all six columns.
Ranged packs
Watch how far Cerberus and the tanks walk before contact. Long travel delays their attacks and gives the enemy more free time against the wall.
Heavy targets
Splash loses relative value, but direct basic attacks and carrier detonation damage still count. Keep applying crystals before their four-second timer expires.
Boss waves
Enter with one real anchor and enough sustained damage. Phoenix is valuable only if it survives long enough to arm Rebirth; spread the backline against the boss slam.
Your Cerberus and two Imps clear a packed wave quickly, so you save toward Succubus. On the next build, the frontline is still only one 570-HP body and the upcoming boss will slam. Buying the support completes the exciting combo but leaves nothing to protect it. The better decision is to stabilize the front—ideally toward Infernal—then add Succubus when red detonations have time to happen.
Inferno in PvP and arenas
In PvP, your lane must survive the scheduled wave before handling mercenaries arriving at its tail. A slow or defensive mercenary can extend the engagement until the Cerberus wall disappears; an area slam can punish a protected group that is actually too compressed. Read the opponent's four offers and preserve enough frontline for the second half of the fight.
After waves 10 and 20, an exact copy of your placement enters the arena. Inferno wants the same basic geometry: Phoenix or Infernal receives contact, Cerberus follows into its cone, and the ranged engine stays alive. Enemy fighters may spread more than a creep wave, but Meteor and Empower still seek the densest available cluster.
Seven Inferno mistakes to avoid
Treating Ignite as a burn
It does not tick over time. Three crystals trigger an immediate burst; incomplete stacks can expire.
Buying Succubus too early
An amplifier cannot replace basic frontline health and damage.
Frontlining Cerberus forever
It opens as a durable bruiser, but should become protected melee damage once true tanks arrive.
Splitting Ignite sources
Widely separated fights make it harder to reach three crystals on the same useful targets.
Stacking every backliner
Boss and mercenary area attacks can remove Imps and Succubus together.
Assuming Rebirth is ready
Phoenix must first reach full mana. A fast death before that point is a real death.
Saving 330 while leaking
The apex unit is not a reason to ignore cheaper bodies that solve the next wave.
Ready to light the first crystal?
Choose Play Tutorial for the coached Cerberus-and-Imp opening, then build your own Inferno wall through Wave 20.
Play Inferno free