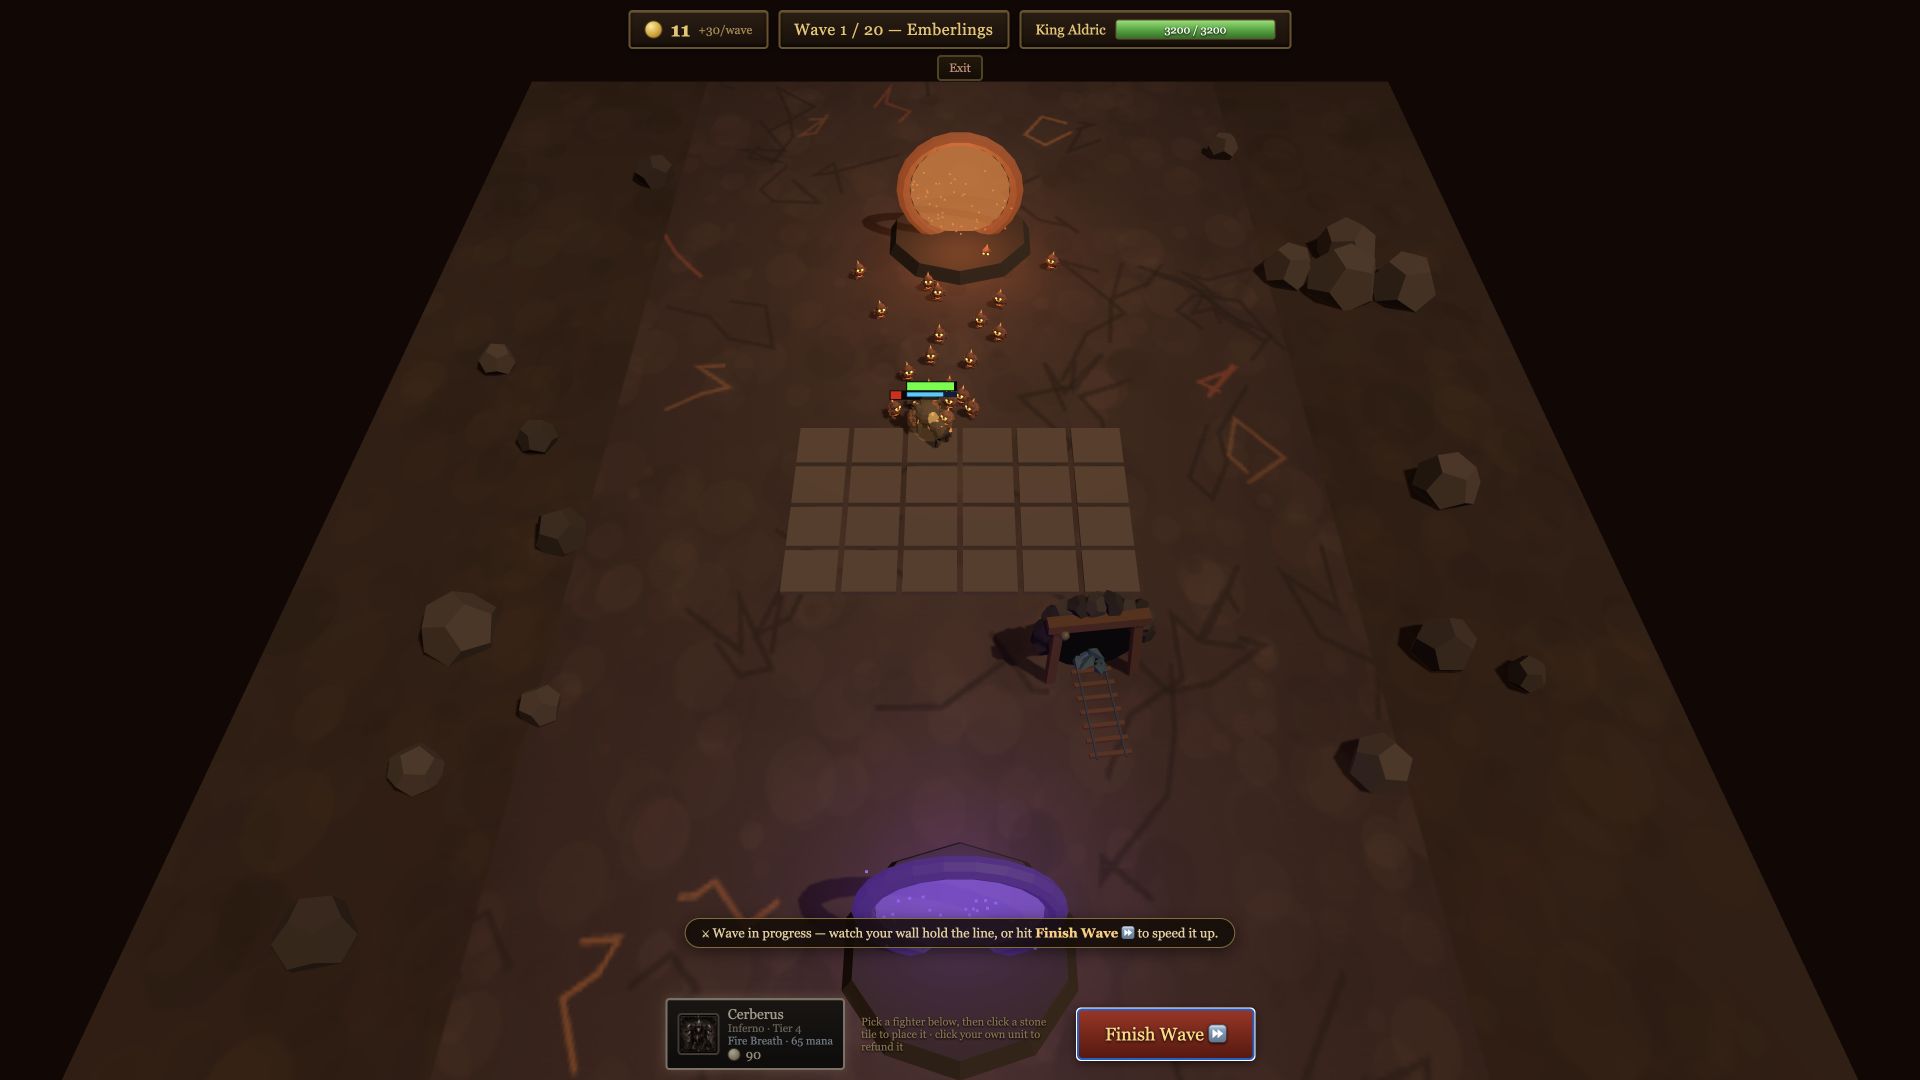
The five beginner rules
- Build a real frontlineOne durable melee fighter should meet the wave before enemies reach your damage dealers.
- Protect your damagePlace ranged fighters behind the frontline, not beside or ahead of it.
- Earn the workerBuy a worker only after a comfortable clear. A weak wall needs gold now, not mythium later.
- Spend mythium with intentCheap sends build income; saved sends try to break a vulnerable opponent.
- Prepare one wave earlyBosses arrive on waves 5, 10, 15 and 20. Finish the important upgrade before the boss countdown begins.
Start with the coached Inferno opening
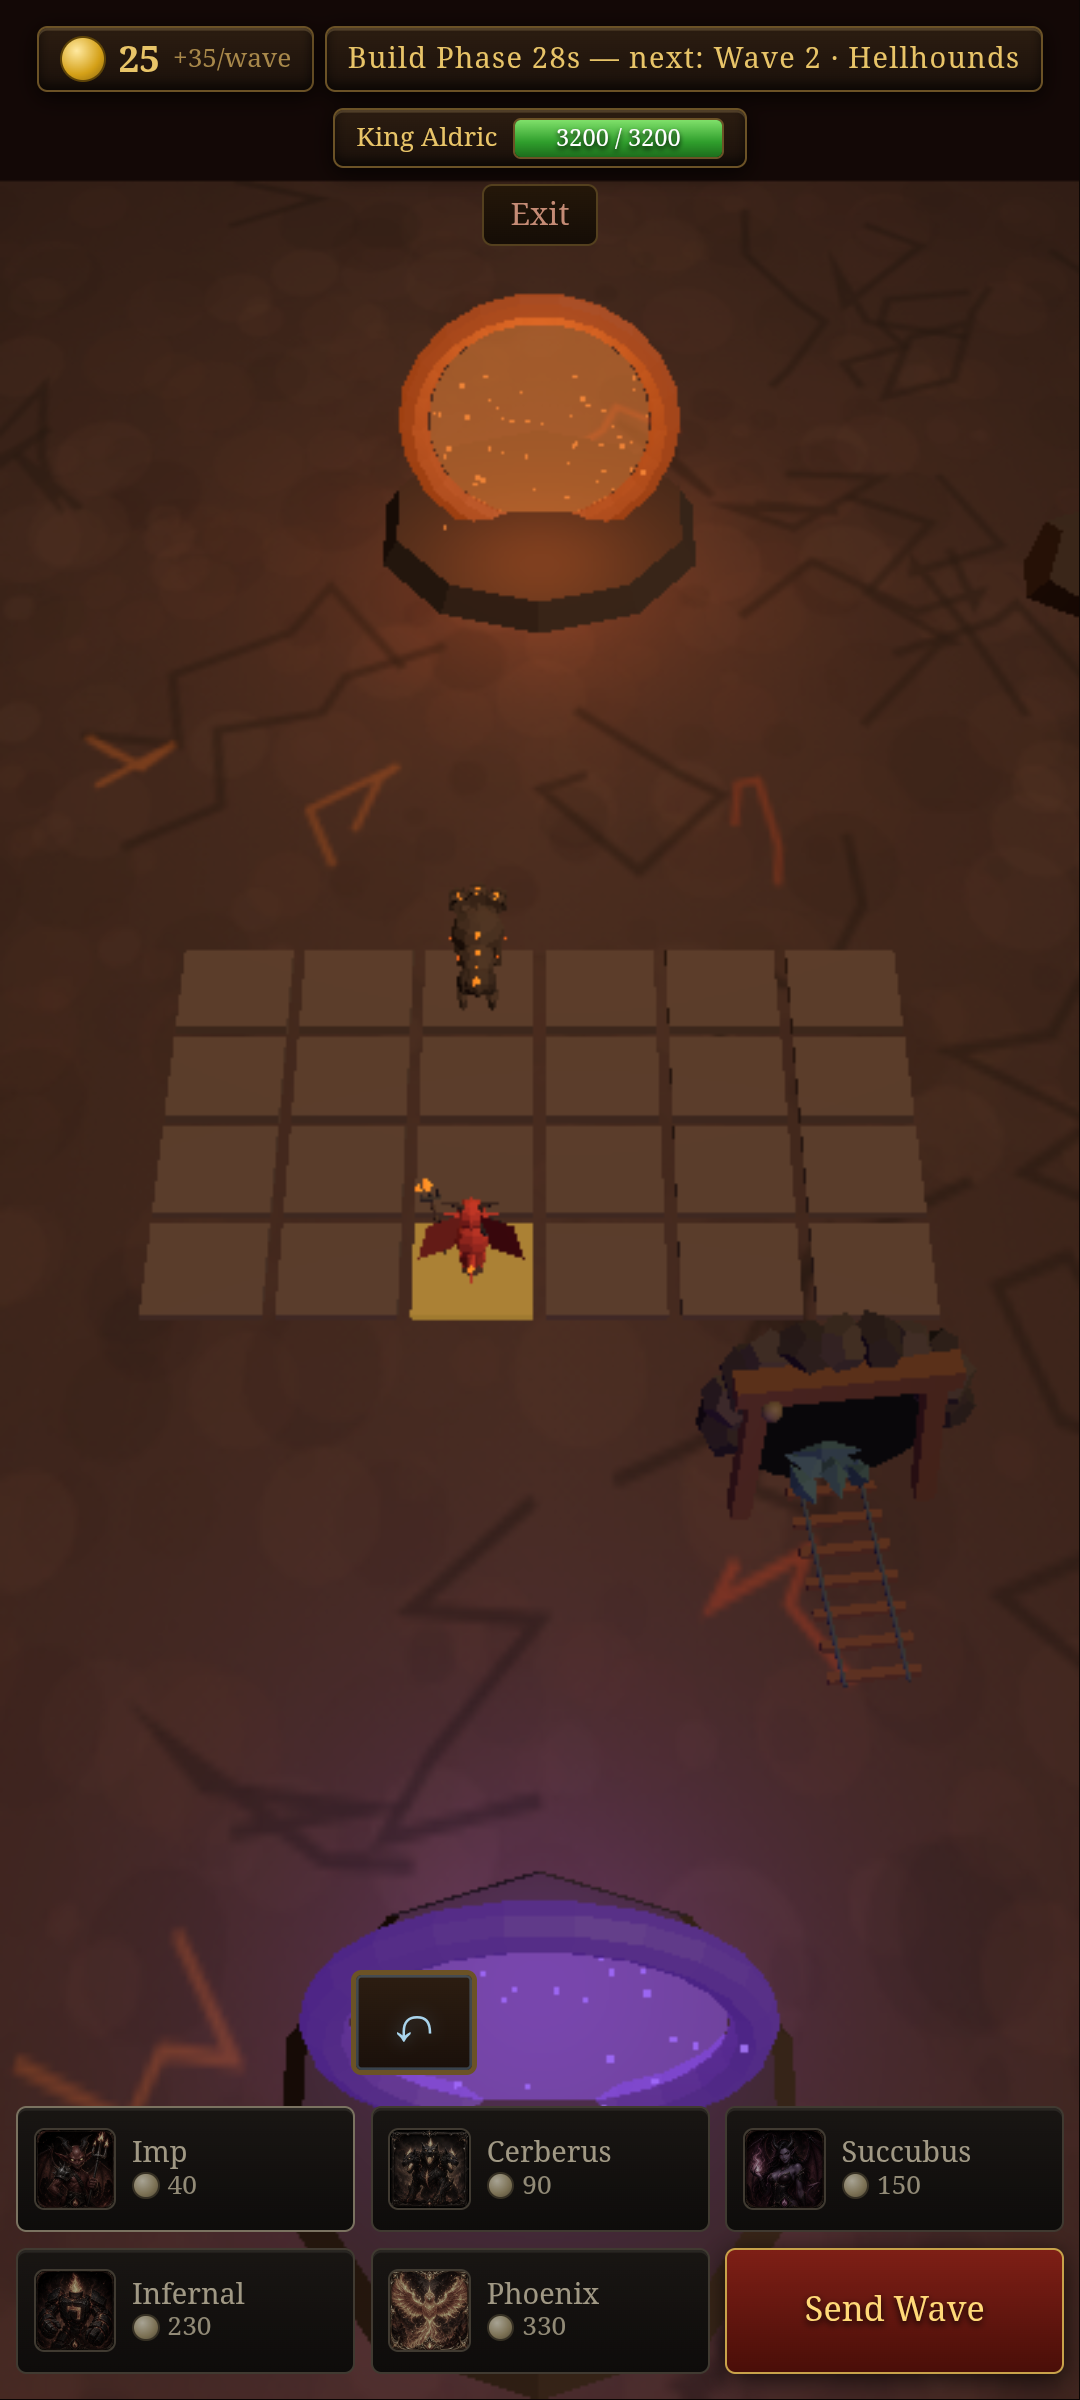
For a first run, choose Play Tutorial and use Inferno. The coach begins with a Cerberus, then adds an Imp behind it. That pairing teaches Throneward's most reusable formation idea: a tough melee body creates time, and protected backline damage converts that time into kills. The Inferno guide continues into Ignite, the complete roster and later-wave decisions; the legions guide compares all eight fixed rosters.
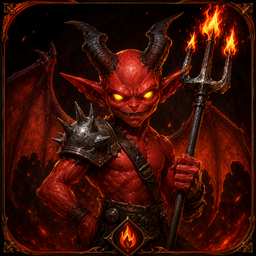 Imp40 gold
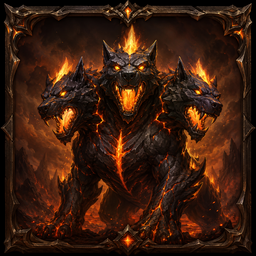 Cerberus90 gold
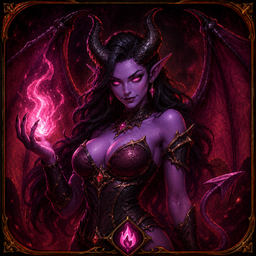 Succubus150 gold
 Infernal230 gold
 Phoenix330 gold
Do not treat the sequence below as a rigid build order. Your bounty gold, leaks, legion and opponent sends can change what you can afford. Treat it as a decision plan: observe the last fight, name the weakness, then spend on the unit or economy choice that answers it.
Your first five waves, step by step
Emberlings: establish the center
Place one 90-gold Cerberus near the center of the front row, leaving 10 gold. The 25 Emberlings are the opening breather. Watch where they wrap around your fighter and how long the Cerberus survives.
Small swarmHellhounds: add protected damage
After a full Wave 1 clear, add a 40-gold Imp in the back row behind the Cerberus. Its ranged damage and splash work because the Cerberus keeps the 28 Hellhounds occupied.
Larger packSpine Crawlers: make the first economy call
This 32-unit wave is a fast rush. If Wave 2 was quick and clean, a worker is possible—but another fighter is the safer first-run choice. If your frontline collapsed, your Imp was reached or anything leaked heavily, spend on defense.
Fast rushCinder Golems: prove the wall
These 20 heavier enemies test whether your formation has both staying power and sustained damage. Add a tougher body if the frontline disappears too soon; add damage if it survives but the fight runs long.
Heavy unitsHellgate Sentinel: survive the boss and escort
The first boss arrives with 12 Gate Whelps, uses a slam and becomes more dangerous below half health. Enter with a complete frontline and reliable damage. Avoid packing every fighter into one tight cluster, and skip a speculative worker if Wave 4 was close.
Boss checkpointStart with 100 gold. Cerberus leaves 10. Wave 1 pays 30 scheduled gold, and 25 Emberlings are worth 1 each if all are killed: 65 total. Buy an Imp for 40 and you enter Wave 2 with 25. A full Wave 2 clear adds 35 scheduled gold and 28 in bounties, leaving 88 before Wave 3.
That 88 gold is the first real test. A worker costs 60, so the button is affordable—but affordability is not safety. On a strong board, the worker starts producing 8 mythium after every cleared wave. On a struggling board, the same purchase leaves only 28 gold and no additional fighter for the Spine Crawler rush.
Read every clear as a diagnosis
You do not need a hidden power score to know what to do next. Watch when your frontline falls, whether enemies reach the back row, how many units leak and how long the fight lasts. Then put the clear into one of three practical categories:
You clear early, the frontline keeps meaningful health and the King stays untouched. Consider a worker or an efficient early mercenary.
You clear late, lose the whole frontline or allow a few stragglers through. Add the missing role before taking more economy.
A large group leaks or the King loses serious health. Stop buying workers, reinforce the lane and prepare for the next threat.
The post-wave fighter statistics make the diagnosis sharper. High tanking with low team damage means your wall bought time that nobody used. High damage from one exposed fighter followed by a collapse suggests it needs protection. A support unit that contributes little may be too early for a formation still missing basic bodies or damage.
Build roles in the right order
- Frontline first. Place durable melee fighters closer to the enemy portal so they take first contact. Keep the shape centered enough that the pack does not immediately wrap around both sides.
- Damage second. Put ranged or fragile damage behind the wall. If it spends the fight running or being hit, it is not doing the job you paid for.
- Support when there is something to support. Healing, buffs and control become stronger when you already have enough health and damage to benefit from them.
- Spacing before a boss. Boss slams punish an unnecessarily tight pile. Keep fighters close enough to focus the same enemies without stacking the entire army into one impact area.
For the targeting logic behind those rules—including aggro, walking time, aura coverage and arena positioning—continue with the complete unit placement guide.
Grow an economy without donating your King
A worker costs 60 gold and produces 8 mythium after every cleared wave. This makes an early worker powerful, but it has no health, damage or battlefield presence. Use one question before every worker purchase: would I still trust this formation if the next wave were slightly harder than expected?
If the answer is no, buy a fighter. If the answer is yes, the worker can compound for the rest of the match. The same logic applies before boss waves: a worker bought immediately before Wave 5 has little time to repay you and may remove the exact gold needed to survive the checkpoint.
Workers create mythium, and mercenaries turn it into pressure plus permanent growth. In versus modes, your send joins an opponent's next wave. In Solo, it fights beside you for one wave. Every send also adds permanent gold income and upgrades a random King stat.
- Send cheap mercenaries early when you want income to start paying sooner.
- Save for a larger send when scouting reveals a formation that one strong body or support effect can punish.
- Do not bank forever. Unspent mythium gives no current income, no King upgrade and no battlefield impact.
Think in four five-wave blocks
The full match is twenty waves, but the difficulty is easier to read as four blocks ending in bosses. Every block mixes packs, rushes, ranged threats and heavy enemies before its checkpoint.
| Block | Threats to expect | Boss | Beginner priority |
|---|---|---|---|
| Waves 1–5 | Swarm, larger pack, fast rush, heavy units | Hellgate Sentinel | Establish frontline plus protected damage |
| Waves 6–10 | Fast swarm, ranged units, rush, heavy units | Infernal Overlord | Round out weak roles and stop relying on one carry |
| Waves 11–15 | Builder, fast units, quick heralds, heavy titans | Pit Lord | Scale health and sustained damage before Wave 15 |
| Waves 16–20 | Fast units, ranged units, builders, colossi | Archfiend | Finish the board; economy only matters if it converts to survival |
In versus play, arena battles also happen after waves 10 and 20. You get a dedicated 20-second preparation phase. After Wave 10, the losing side receives a comeback heal; after Wave 20, the arena decides the match, with the healthier King breaking a draw.
What changes in PvP
Solo asks whether your wall can beat the scheduled waves. PvP asks a second question: can it still win when another player chooses the pressure? Scout enemy lanes between builds. Look for too little frontline, exposed ranged units, slow clears and over-clustered formations, then time mercenaries for the wave most likely to amplify that weakness.
In team games, everyone shares one King. A player who clears quickly sends surviving fighters to defend teammates' leaks, so your job is not merely to avoid leaking. Reliable, fast clears create teamwide protection. Communicate before saving a large send, and do not assume a teammate's strong lane can permanently cover a failing one.
Eight common beginner mistakes
All frontline
A durable wall still loses if nothing kills the wave. Add protected damage before another redundant body.
All ranged damage
High damage on paper disappears when enemies make immediate contact. Buy time with a real frontline.
Worker after a weak clear
Do not reward a warning sign with less defense. Stabilize first; greed from genuine surplus later.
Ignoring the next wave
A build that crushes a swarm can fail to a rush, ranged pack or boss. Read the name and threat before spending.
Saving mythium forever
Banking can create a decisive send, but idle mythium delays income and King upgrades. Save toward a reason.
Late panic selling
After a fighter has battled, selling returns 60%. Prefer adding the missing role over churning a whole formation.
Overreacting to one leak
A few early stragglers are survivable. Diagnose why they escaped; do not destroy a sound plan in panic.
Watching only your lane
In PvP, enemy shapes tell you when to send. In teams, allied leaks tell you when reliable clears matter most.
The fastest way to improve
After every loss, identify the first wave that made your formation unstable—not only the wave that killed the King. Then ask whether you lacked frontline time, damage, spacing or gold because of an early worker. Change one decision in the next match and compare the result. That loop teaches more than memorizing a fixed build that stops working as soon as a legion, send or wave changes.
Put the five-wave plan into practice
Start the free tutorial, build the Cerberus–Imp opening and make your first worker decision from what the lane actually shows you.
Play the tutorial free