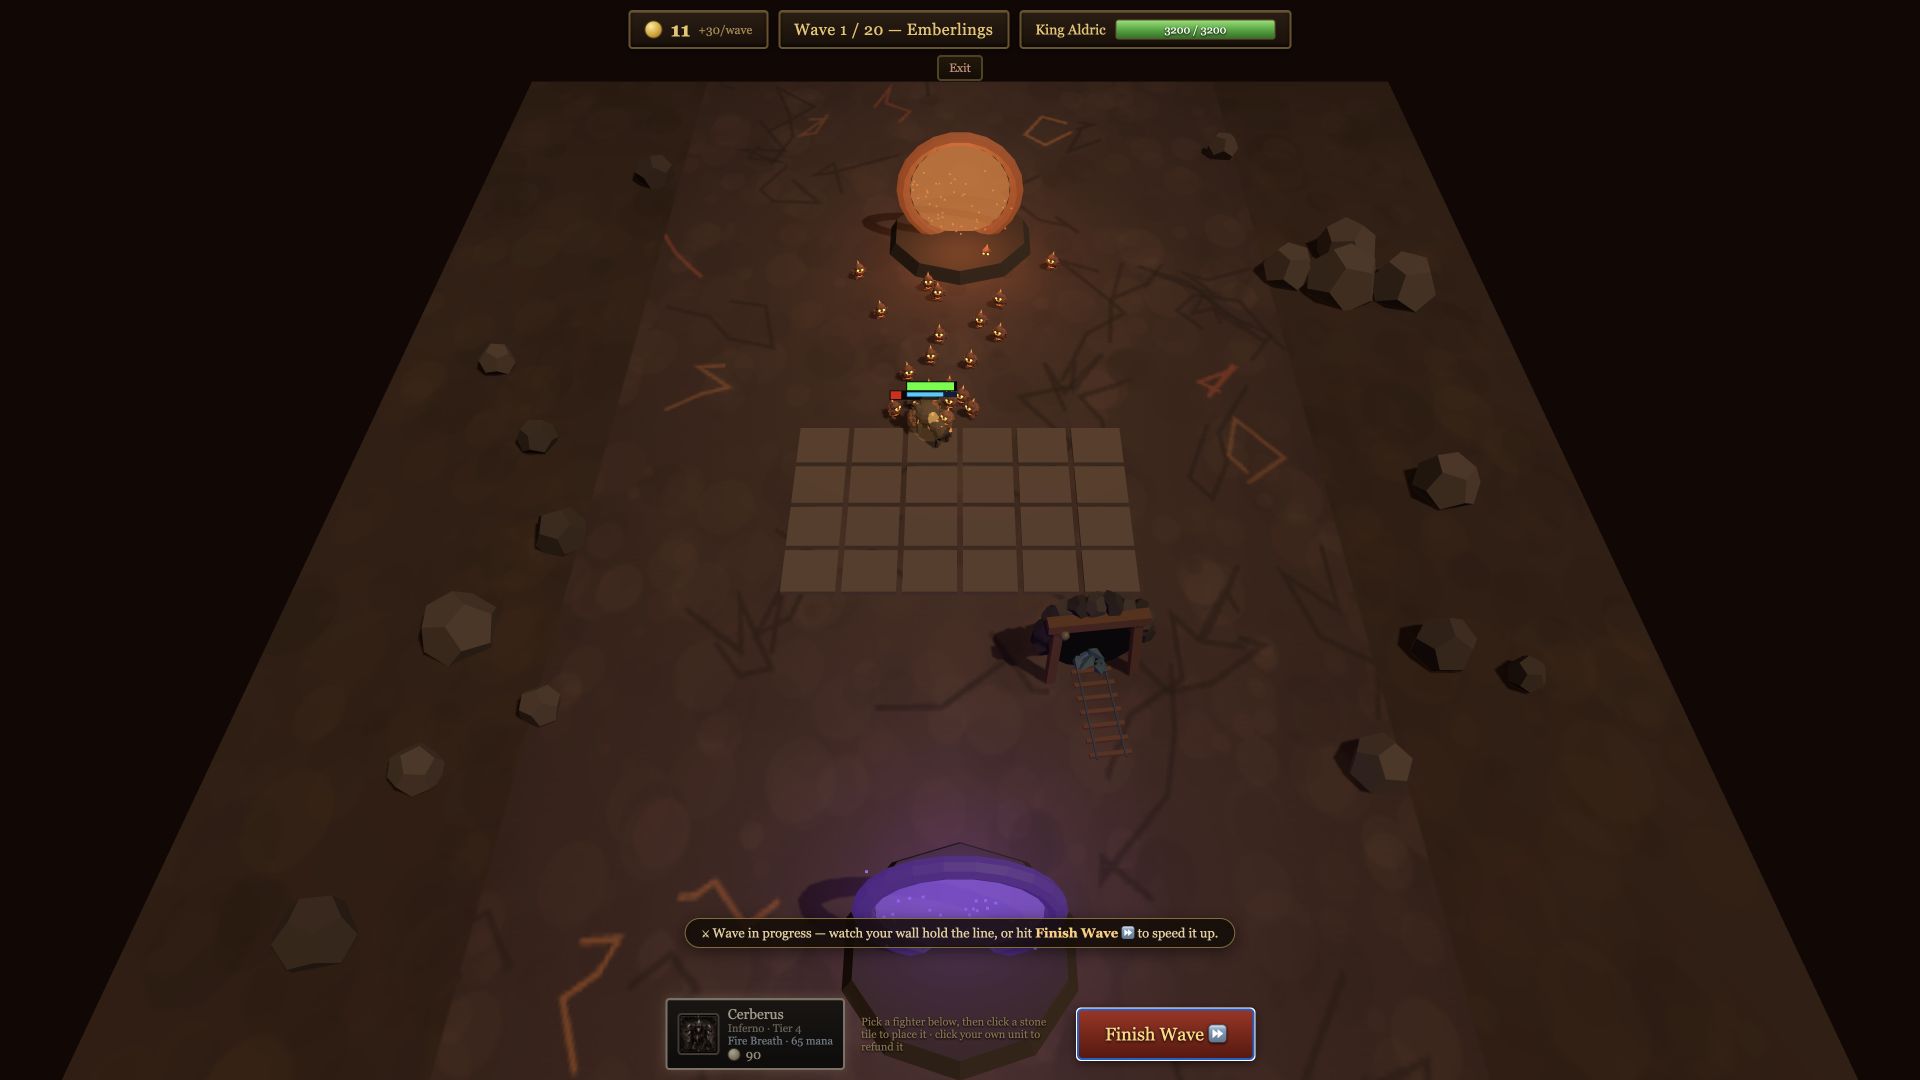
Mercenaries in 60 seconds
- Your rosterEvery match offers four mercenaries: one randomly selected unit from each of four tiers. Tier 4 is cheapest; Tier 1 is strongest.
- Your costSpend 20, 40, 80 or 160 mythium during a build phase. The unit is queued for the next wave.
- Your permanent rewardEvery send adds gold income and rolls all of its King upgrade levels into one random royal stat.
- Your pressureIn versus play, the mercenary arrives at the tail of a fixed opponent's next wave. If the defender kills it, they collect its bounty.
- Your Solo unitWithout an opponent, the same purchase hires a one-wave ally that fights ahead of your wall and then leaves.
How mercenary sends work
- Workers produce mythium.Each worker adds 8 mythium after every cleared wave. Gold and mythium remain separate currencies.
- The match rolls four offers.One unit is selected from each tier's four-unit pool when the match starts. Those offers stay fixed for that match.
- Click a mercenary during the build phase.The mythium cost is paid immediately; the send can be reversed with Undo until combat begins.
- Keep the rewards immediately.Permanent income rises and one King stat receives the tier's full number of upgrade levels—even if the unit later dies.
- The unit enters the next battle.Enemy mercenaries spawn after the scheduled wave units, so they extend the fight rather than leading it.
In 1v1, your sends always go to the opponent. In 2v2–4v4, each seat has one fixed opposing lane; you do not choose a fresh target for every purchase. Multiple mercenaries can be queued into the same next wave in the order they were bought.
The four mercenary tiers
- Income
- +2 / wave
- King levels
- 1
- Defender bounty
- 2 gold
Fast disposable pressure with no special ability.
- Income
- +5 / wave
- King levels
- 2
- Defender bounty
- 5 gold
A sturdier body that extends an ordinary wave.
- Income
- +11 / wave
- King levels
- 3
- Defender bounty
- 8 gold
A strong body plus slow, healing, shielding or an AoE slam.
- Income
- +24 / wave
- King levels
- 8
- Defender bounty
- 16 gold
The largest body and strongest version of a battlefield effect.
Larger tiers convert mythium into permanent income more efficiently: each point of mythium adds 0.10, 0.125, 0.1375 or 0.15 gold per later wave from Tier 4 through Tier 1. The tradeoff is time. Saving 160 mythium delays the income, King rolls and pressure that smaller sends could provide earlier.
The dedicated economy and income guide covers worker timing, wave payouts and the decision to compound now or bank toward a larger send.
Complete current mercenary roster
All four variants within a tier share its cost, income, King levels and bounty. What changes is the body—and, for Tier 2 and Tier 1, the battlefield effect.
| Tier | Mercenary | HP | Damage | Speed | Battlefield role or effect |
|---|---|---|---|---|---|
| T4 | Hellbat | 170 | 9 | 3.4 | Fast disposable body |
| T4 | Spiteling | 140 | 11 | 3.7 | Fastest T4; fragile pressure |
| T4 | Rock Grub | 235 | 7 | 2.6 | Highest-health T4 |
| T4 | Cinder Wisp | 150 | 10 | 3.3 | Balanced disposable body |
| T3 | Ogre Brute | 560 | 24 | 2.0 | Balanced bruiser |
| T3 | Dire Hound | 470 | 22 | 2.9 | Fastest T3 |
| T3 | Ember Fiend | 520 | 27 | 2.4 | Highest-damage T3 |
| T3 | Clay Golem | 700 | 18 | 1.8 | Highest-health T3 |
| T2 | Frost Wyvern | 980 | 40 | 2.7 | Temporal Drag: slows defender movement and attack speed, stacking each cast |
| T2 | Grove Warden | 1,050 | 34 | 2.1 | Field Mend: heals its whole wave pack |
| T2 | Stone Bulwark | 1,250 | 30 | 1.8 | Iron Hide: reduces incoming damage and reflects part of it |
| T2 | Wall Breaker | 1,000 | 42 | 2.3 | Cataclysm Slam: damages clustered fighters around it |
| T1 | Dread Behemoth | 1,950 | 70 | 2.0 | Cataclysm Slam: stronger AoE pressure with a hulking body |
| T1 | Tempest Lord | 1,700 | 64 | 2.6 | Temporal Drag: heavily slows the defending wall |
| T1 | Plague Titan | 1,850 | 60 | 1.9 | Field Mend: restores the whole wave pack |
| T1 | Iron Colossus | 2,300 | 54 | 1.7 | Iron Hide: stronger damage reduction and reflection |
Match the effect to the formation
Best when the wall relies on rapid attacks, movement or long sustained uptime. Repeated casts stack the pressure.
Best when the scheduled wave already survives long enough for repeated healing to undo gradual damage.
Best against tightly packed defenders because the cast damages every fighter around the mercenary.
The body still matters. A Clay Golem carries no special effect, but its 700 HP can be more relevant than a faster T3 if the goal is simply to keep the defender occupied. Similarly, the Iron Colossus has the largest health pool in the entire mercenary roster before its defensive cast is considered.
Every send rolls one King stat
A send does not let you choose its royal upgrade. The game picks one of four stats, then pours every level from that tier into the same result. In team modes, all players on one side strengthen the same shared King.
From zero levels, a Tier 1 send's eight-level roll becomes +64 damage, +1,760 maximum HP, +9.6 regeneration per second or a King attack cooldown reduced from 0.8 seconds to about 0.54 seconds. The result is random, but it is permanent for the match and remains valuable even when the send causes no leak.
When to send now—and when to save
Send now for compounding
Use the affordable tier when no clear kill timing exists and several waves remain for its permanent income to pay repeatedly.
Save for a specific weakness
Name the target tier, effect and wave. Banking toward a Wall Breaker for a clustered board is a plan; merely forgetting to spend is not.
Stack sends for duration
Multiple queued bodies arrive after the base pack and can turn a slow clear into a leak, but also offer multiple bounties if defended.
Protect your own wall first
Mythium does not buy fighters directly. The worker investment that created it must not leave your formation unable to survive.
Boss waves are obvious pressure points, but not automatically the best send. A single boss can expose poor single-target damage, while a rush or ranged wave may match the opponent's weakness more precisely. Scout the actual formation and its previous clear instead of treating waves 5, 10, 15 and 20 as mandatory send buttons.
Your opponent's melee wall clears Wave 7 slowly while four ranged fighters stand in a tight group behind one tank. The current Tier 2 offer is Wall Breaker. Saving to 80 mythium for a later difficult wave gives you +11 income, three King levels and an AoE body that attacks the exact spacing weakness you saw. If their formation spreads out before the timing arrives, reconsider; the economic rewards remain good, but the original tactical reason has changed.
How to defend an incoming mercenary
- Read the incoming count. A warning of extra mercenaries means the scheduled wave is only the first part of the fight.
- Use the opponent's active roster. Their four available cards reveal which effect could be coming even when the exact purchase is unknown.
- Preserve frontline duration. Mercenaries arrive at the tail, so a wall that collapses during the base pack exposes every damage dealer.
- Spread against slam pressure. Do not feed one Cataclysm Slam an unnecessarily dense group of valuable fighters.
- Plan for extended fights. Slow, healing and shielding become stronger when the engagement lasts long enough to cast repeatedly.
- Collect the bounty. A successful defense pays 2, 5, 8 or 16 gold per mercenary killed, softening the attacker's pressure advantage.
Avoid rebuilding the entire formation in panic. Fighters sold after they have fought return only 60% of their cost. Target the role or spacing problem, use new purchases where possible and remember that the same board must still face later base waves and arenas. For a methodical fix, use the unit placement guide.
Mercenaries in each game mode
Solo
The purchase becomes a temporary ally on your next wave. It fights just ahead of the wall, pays the same income and King levels, then disappears after that wave.
1v1
Every send joins your only opponent's next wave. Scouting directly connects each effect to one target formation.
Team PvP
Your sends go to a fixed opposing lane. Income remains personal, while the rolled King levels strengthen your team's shared throne.
Vs Computer
Sends follow the same versus rules against the fixed AI lane. It is a useful place to learn the rotating effects without risking rating.
Six mercenary mistakes to avoid
Confusing tier numbers
Tier 4 is the 20-mythium option; Tier 1 is the 160-mythium apex unit.
Banking without a target
Unspent mythium grants no income, King strength or immediate pressure.
Ignoring the rotating roster
The four price points stay fixed, but the body and effect available at each tier can change every match.
Expecting to choose the King stat
All levels go into one randomly selected royal stat; do not count on a specific result.
Sending only on bosses
The best timing is the wave that matches the scouted weakness, not automatically every fifth wave.
Forgetting defender bounty
A failed attack gives the target extra gold for every mercenary they kill.
Ready to read the four offers?
Start a free match, open the mercenary panel and turn the rolled roster into a deliberate send plan.
Play Throneward free